How can I track my time ?
- Available with
- Tailored
- Team
How to track my time
A user can track her/his time in multiple way:
-
From the “Time Tracking” tab on the details of an object present in a “calendar-tab” scope
-
From the “Track my time” menu if objects are present in a “calendar-page” scope
-
From the stopwatch on the right of the screen on the details of an object present in a “stopwatch” scope
Two new profiles are defined with this extension:
-
Time Tracker: A user having this profile can only track time for himself and see only his time tracked
-
Time Tracking Manager: A user having this profile can track time for other and will have access to the time tracked by anybody
A user can track his time only if he has one of the 2 profiles defined above.
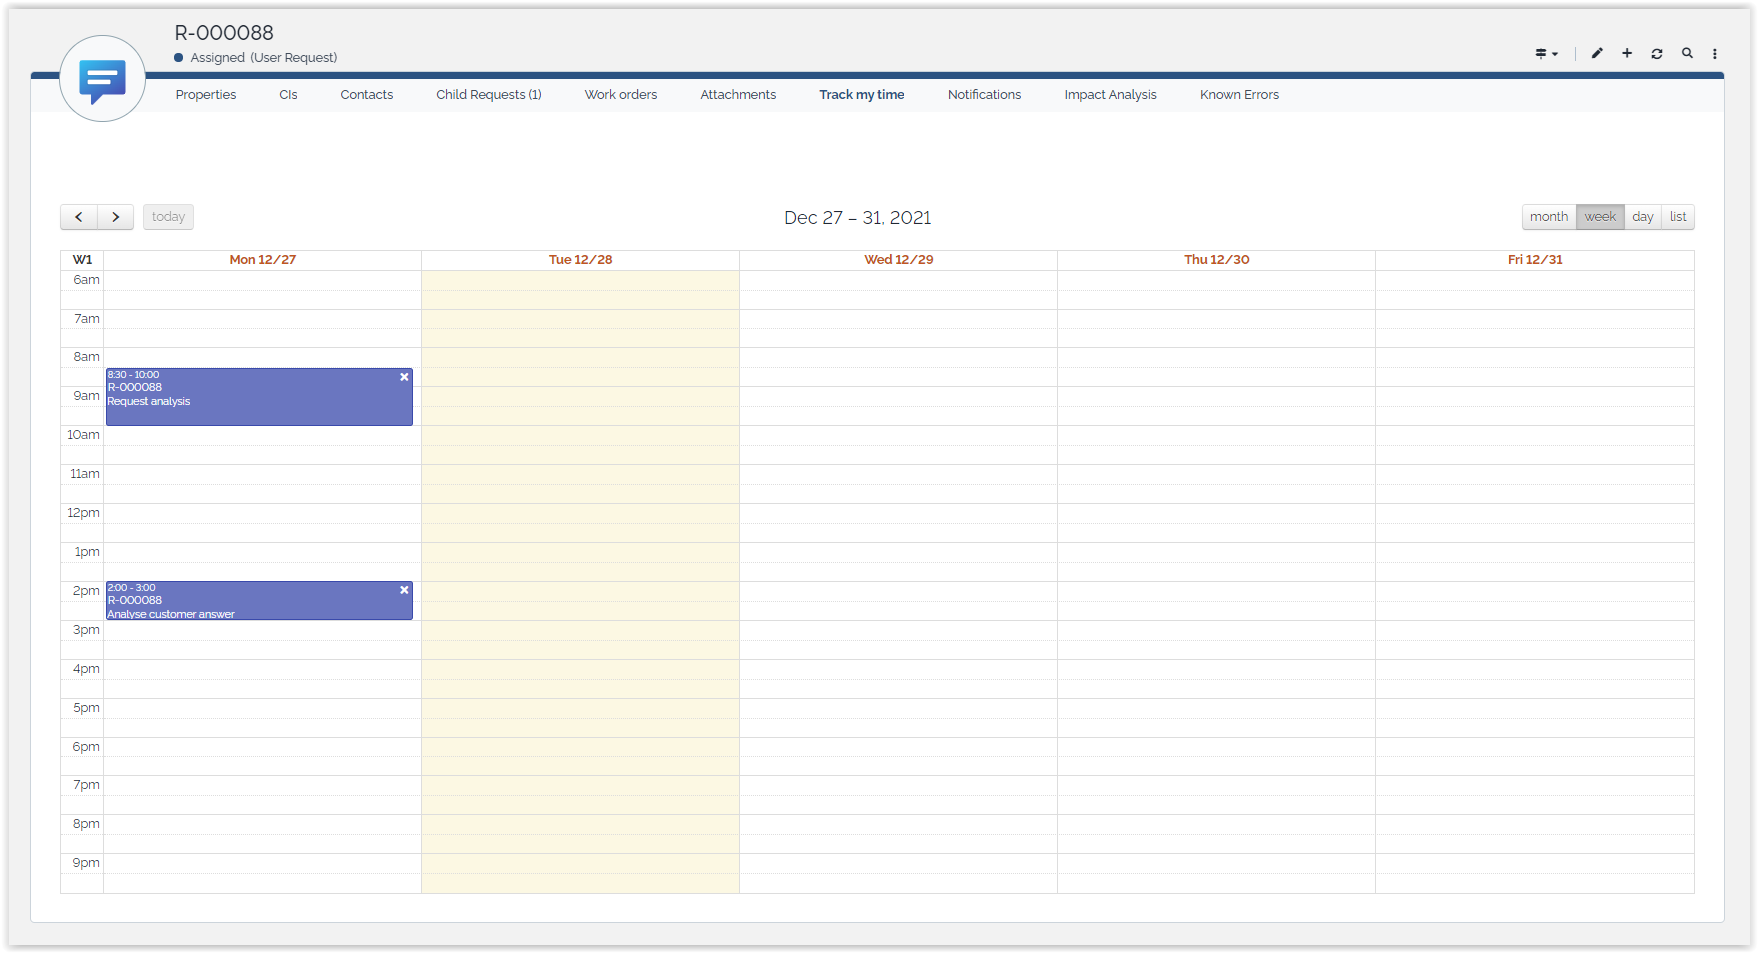
From the details of a ticket
An extra tab “Time Tracking” appears once the extension is installed. Inside the tab a calendar shows the activities associated with the ticket. The activities of the current user are shown in color, whereas the activities of all other users (on this object) and stopwatches appear in ```default_calendar``` and ```default_stopwatch``` color (see configuration). Clicking on an item in the calendar displays a popup to edit this event. To create a new activity, simply click and drag in the calendar. You also change the start date & time or the duration of an Activity by clicking it in the calendar.
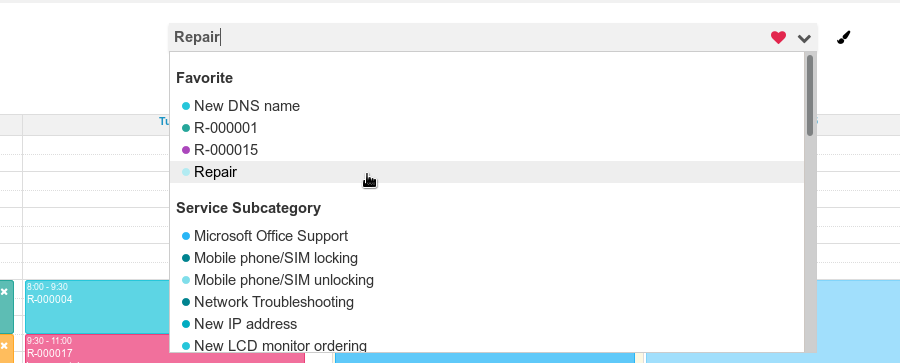
From the "Track my time" menu
The same kind of editing is possible from the “Track my time” menu. You need to select an activity in the combobox, from there you set your favorite activities and customize its color.
-
The top search bare use auto-complete mecanism
-
To set your favorite activity, you just have to click on the “heart” icon.
-
To customize the color, you have to click on the “pencil” icon.
-
The drop down list display first your favorite activities, then other activities grouped by type (User Request, Customer Contract …)
Added in 2.2.0, when no activity is selected and you click to add a Time Spent, it falls back to the “classic mode” and prompt you to select one
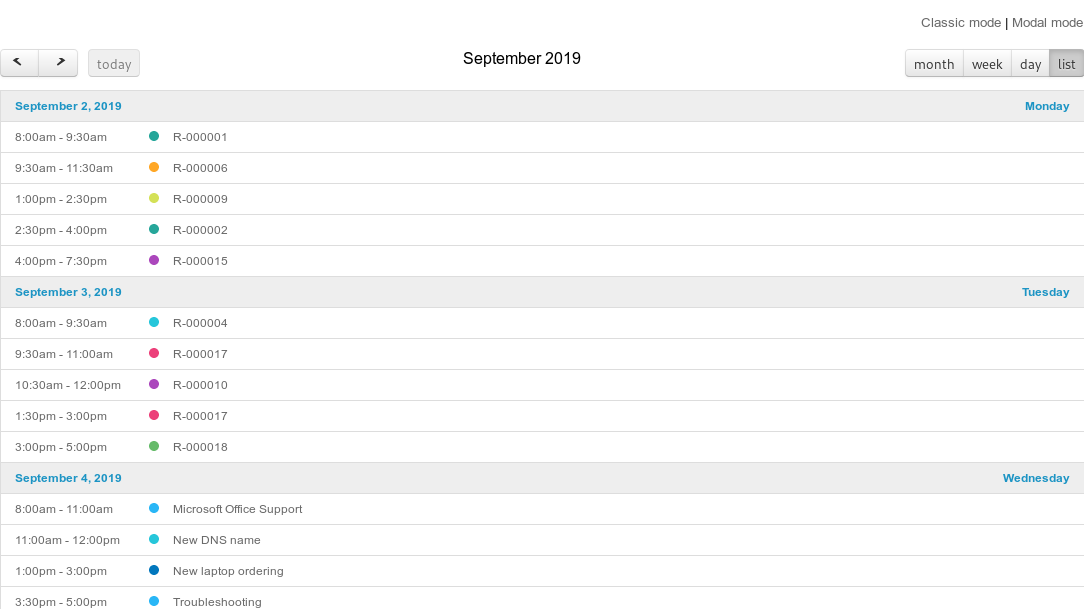
You can pick a “classic mode” with the combobox always visible or a “modal mode” which prompts a modal each time to click and drag on the calendar.

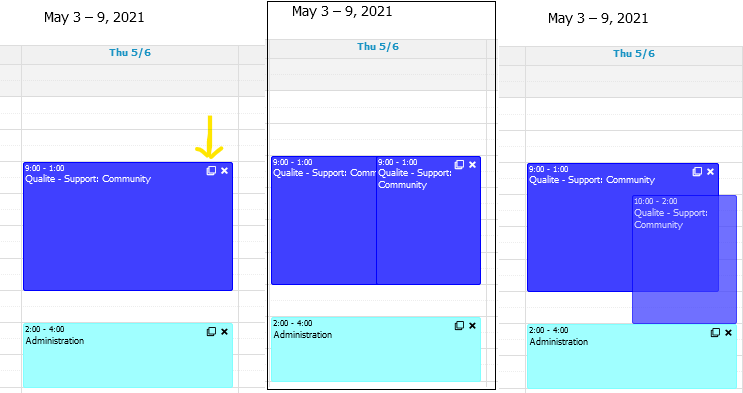
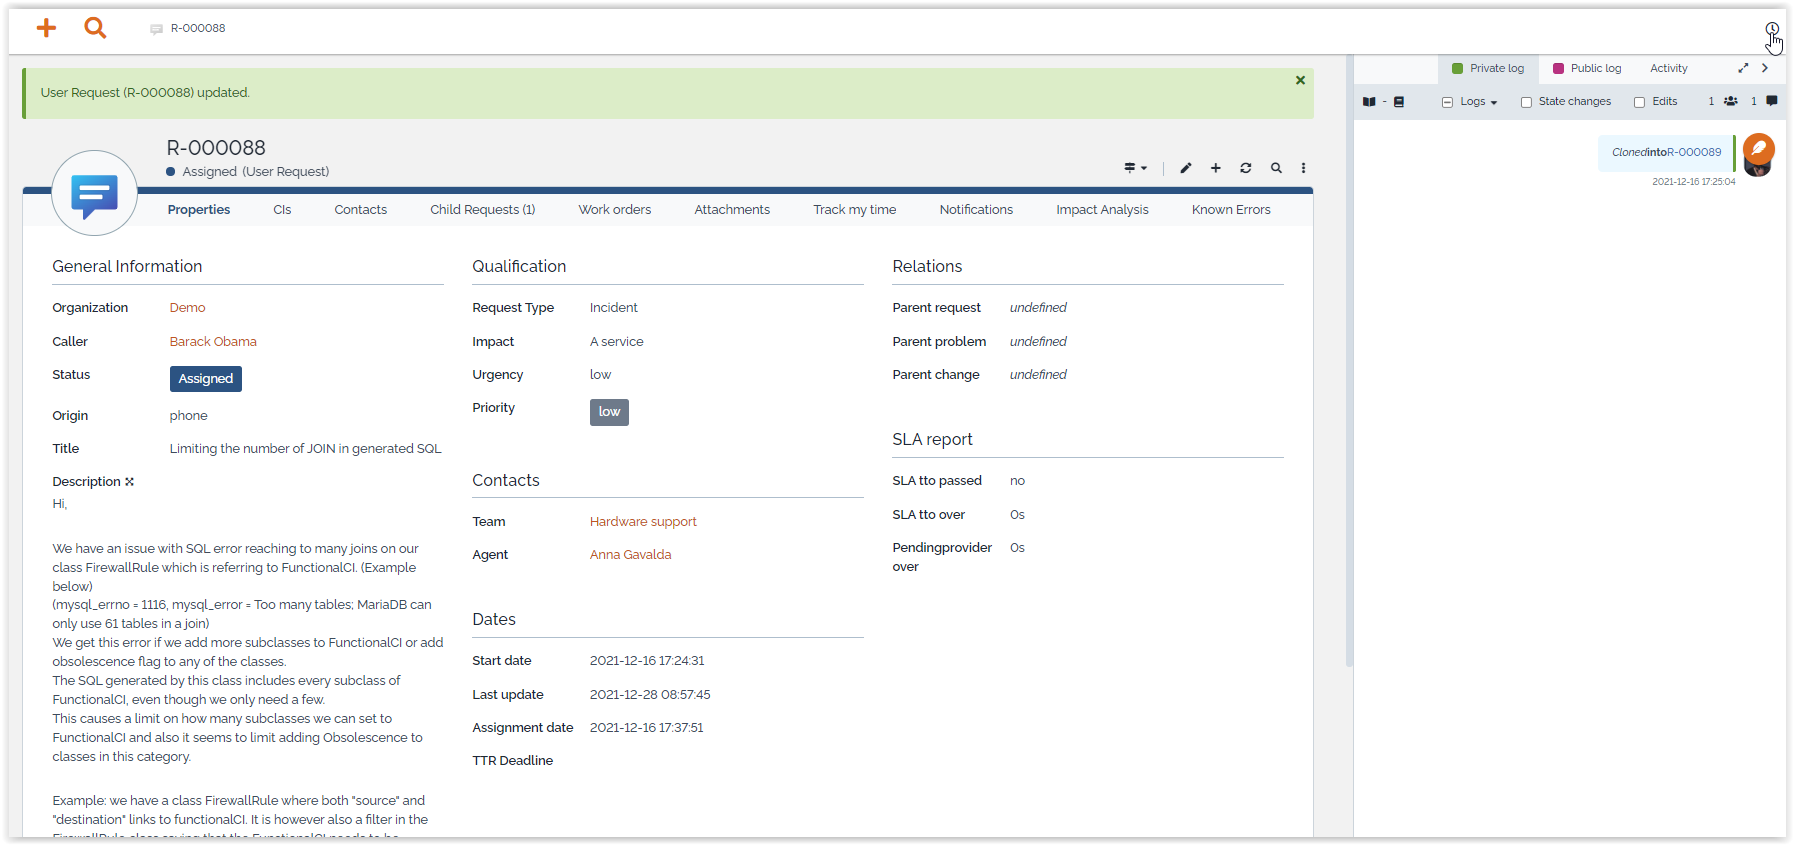
Added in 2.2.0, you can clone an entry, using the top right cloning icon: it duplicates the entry, which you must then drag and drop or edit to move to another time.
Each calendar has multiple views: month, week, day ,list.
| Week view | Month view | List view |
|---|---|---|
 |
 |
 |
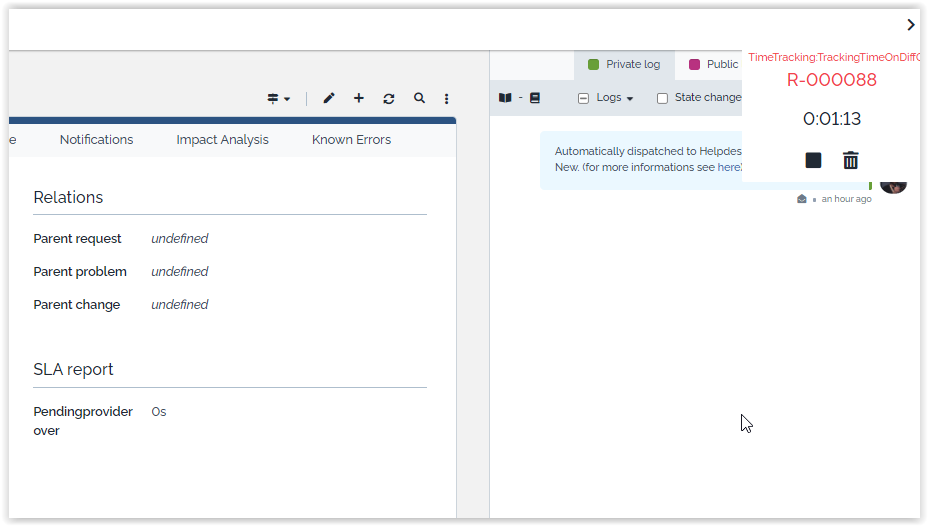
From the stopwatch
A simple icon appears on the right of eligible object. The icon will be black if the stopwatch is not running or green if it's tracking time at the moment.
Clicking on this icon will display the stopwatch widget with buttons to start/stop/reset the stopwatch and the recent tracking history of the object with few information : Contacts whom tracked time on this object, the time spent and its date, the origin of this tracked time (stopwatch or calendar)

If you start a stopwatch and go on another object, you'll be prompted by the widget that you are visiting an object while you track time on another object.
Reporting
The extension provides some basic reporting capabilities via two menus: “Time tracking report” and “My time tracking report” and a “Time spent” tab on each object present in ```report-tab``` scopes (see configuration).
Those menus are available, only if the user has one of the time tracking profils. The “Time tracking report” menu is available only for the time tracking managers.
The result is a list of “TimeSpent” objects, which can be exported if needed.
Both menus show the same information, the only difference is that the latter is limited to displaying the activities of the current user only.

The report can be a daily / weekly or monthly report (use the “prev.” and “next” buttons at the top left to navigate to the desired date), and the results can be filtered by additional criteria.
Moreover, at the bottom of the page, several bars charts display the total activity, per day, grouped on one given dimension (User, Customers…)
The TimeSpent data can be retrieved by an OQL query and exported using the standard iTop export capability
Here are some query example to extract time spent information:
Time spent by the current user (My Time Spent)
SELECT TimeSpent WHERE user_id=:current_user_id
Time spent by Claude Monet
SELECT TimeSpent AS ts JOIN Person AS p ON ts.contact_id=p.id WHERE p.friendlyname='Claude Monet'
Time spent for a given organization
SELECT TimeSpent AS ts JOIN Organization AS o ON ts.org_id=o.id WHERE o.name='Demo'
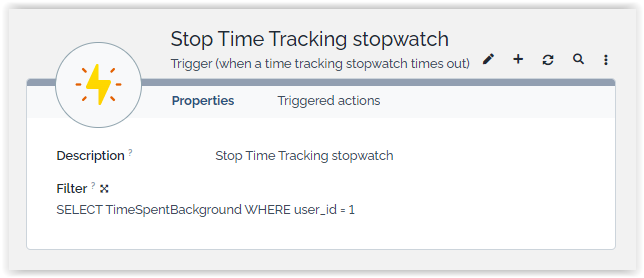
Notification Trigger
This extension brings a new Trigger: Trigger (when a time tracking stopwatch times out) This one is triggered when a time spent stopwatch reach the threshold “stopwatch_max_time”
The class configured for this trigger is TimeSpentBackground ($this) and can be used as a placeholder in the related filter and Actions
You can use this trigger to inform a user that a TimeSpent stopwatch had been stopped automatically after a given delay
You still have unanswered questions ? Ask us.
Give, get, ask…
Join our community of users to share your knowledge and good practices.